Managing Records & Exporting Files
Once scanning, splitting, and text recognition are complete, records are stored under Records & Documents so you can easily find them and export archival files.
1. Searching and filtering documents
The record management screen lets you quickly look things up among thousands of documents:
- Full-text search: Just type any word contained in the document (for example, a person's name, a place, or a decision number). The software immediately finds the records containing that word and points out which page it appears on.
- Quick filters:
- Filter by scan date or issue date range.
- Filter by issuing agency or document type.
- Filter by check status (records that passed or records that need review).
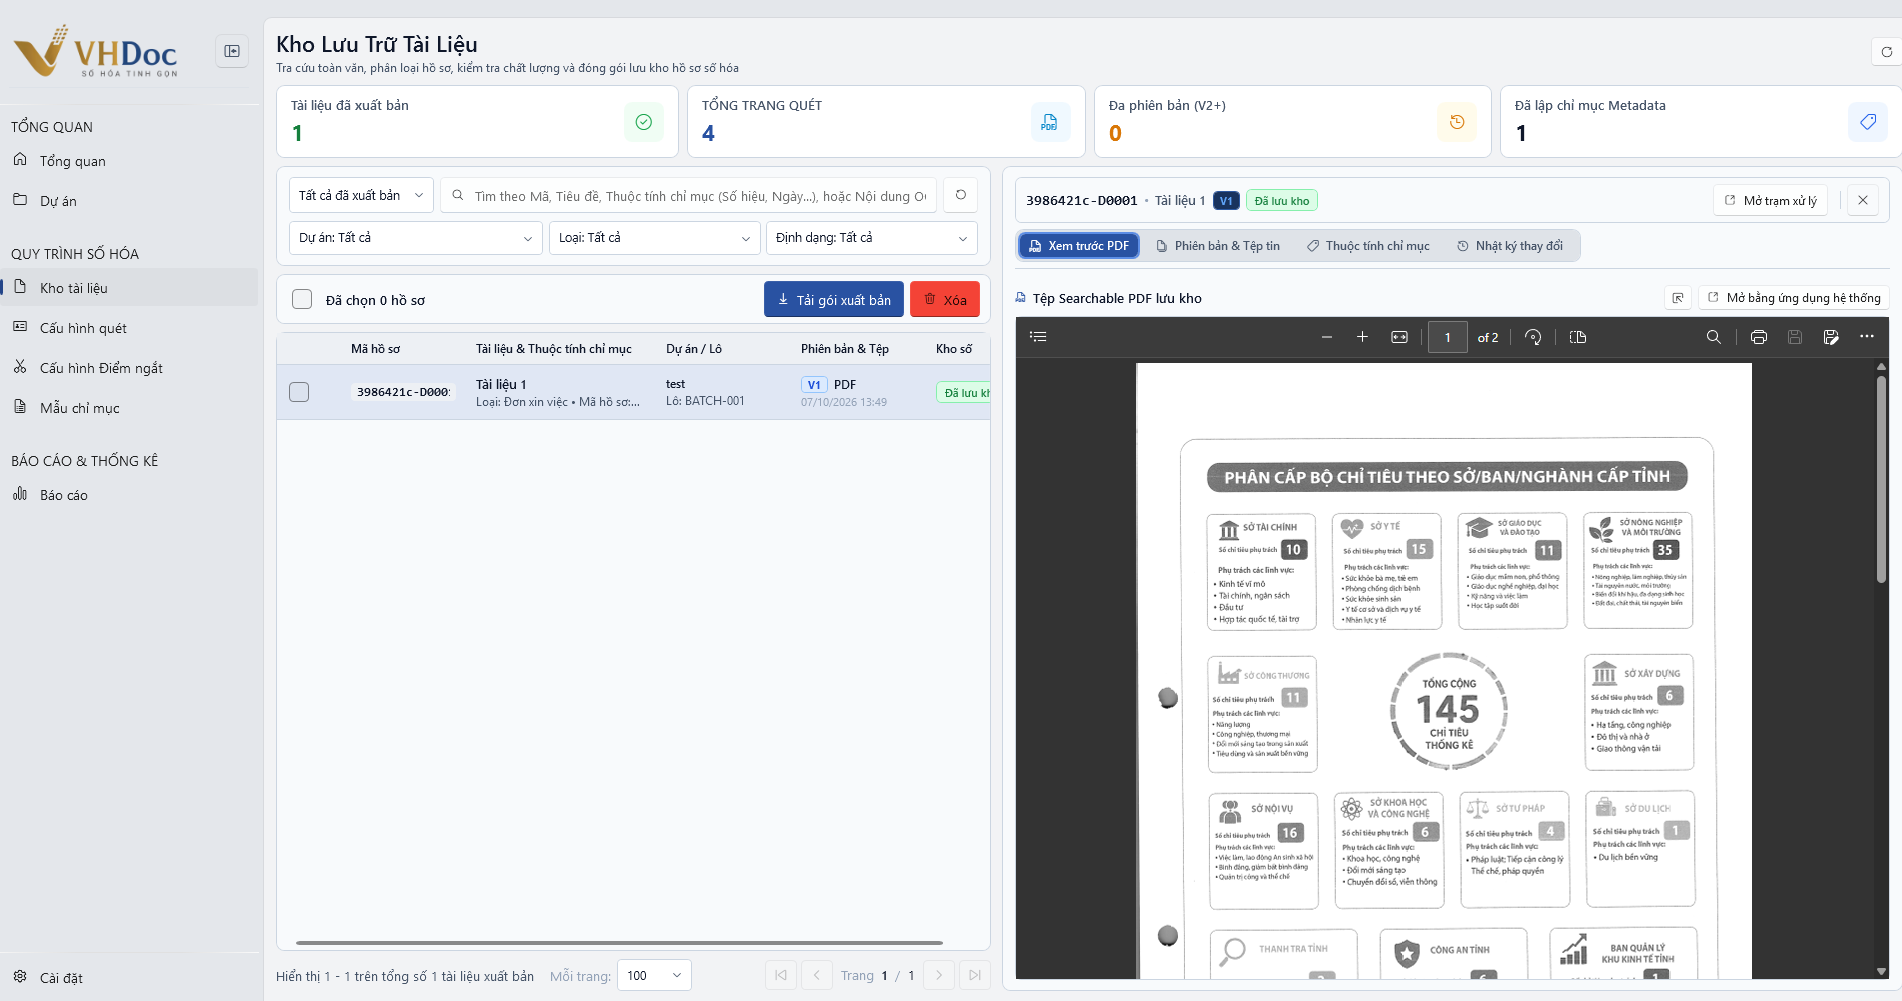
Figure: The Document Repository interface, previewing a Searchable PDF and packaging for export
2. Export file formats
The software supports exporting documents to several common formats:
The standard format for long-term archiving. It opens on any computer and lets you highlight and copy text or search keywords (Ctrl + F) easily.
Combines all scanned pages into a single image file with a very small size, suitable for archiving legacy document records.
Packages a zip file containing the PDF file and prepared document information ready to upload to a One-Stop-Shop portal or Document Management system.
3. Steps to export files in bulk
- On the Records & Documents screen, check the record sets you want to export (or click "Select all").
- Click the "Export documents" button on the toolbar.
- Choose the export format (for example, Searchable PDF file or Multi-page TIFF image file).
- Choose an automatic file naming rule (for example,
{Number}_{IssueDate}_{Subject}). - Choose a folder on your computer to save the files and click "Start export".
- The export process runs automatically and notifies you when it is complete.